

Clearance Room!
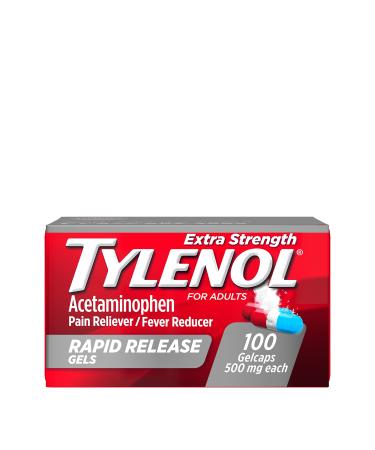
Tylenol Extra Strength Acetaminophen Rapid Release Gels Pain Reliever & Fever Reducer - 100 Gelcaps
Regular Price: US$45.00
Special Price US$13.99

Prime Labs Men's Test Booster - 60 Caplets
Regular Price: US$50.00
Special Price US$39.99

Frito-Lay Ultimate Snacks & Cookies Snacktime Mix (40 Pack)
Regular Price: US$94.99
Special Price US$74.99
Regular Price: US$60.00
Special Price US$18.99
Regular Price: US$70.00
Special Price US$30.00
Regular Price: US$40.00
Special Price US$9.99
Regular Price: US$50.00
Special Price US$39.99

Regular Price: US$53.99
Special Price US$24.99

NELEUS Men's Dry Fit Mesh Athletic Shirts - Black,red,blue - Medium
Regular Price: US$80.00
Special Price US$37.00

Regular Price: US$60.00
Special Price US$24.99

GRAND SELECTION
Think of it and most probably we have it among our grand selection of products!
AMAZING PRICES
Get ready for the amazing and best Supps prices ever!
FIXED RATE DELIVERY
Get your order anywhere on this planet within 5-10 days with a fixed rate of $19.99 (no matter the size of your order)
-
 Add to Cart
Instant Smile - The Disk Denture Reliner - Forms Using Hot Water
Regular Price:
Special Price
